Step 8 - Fitting electronics
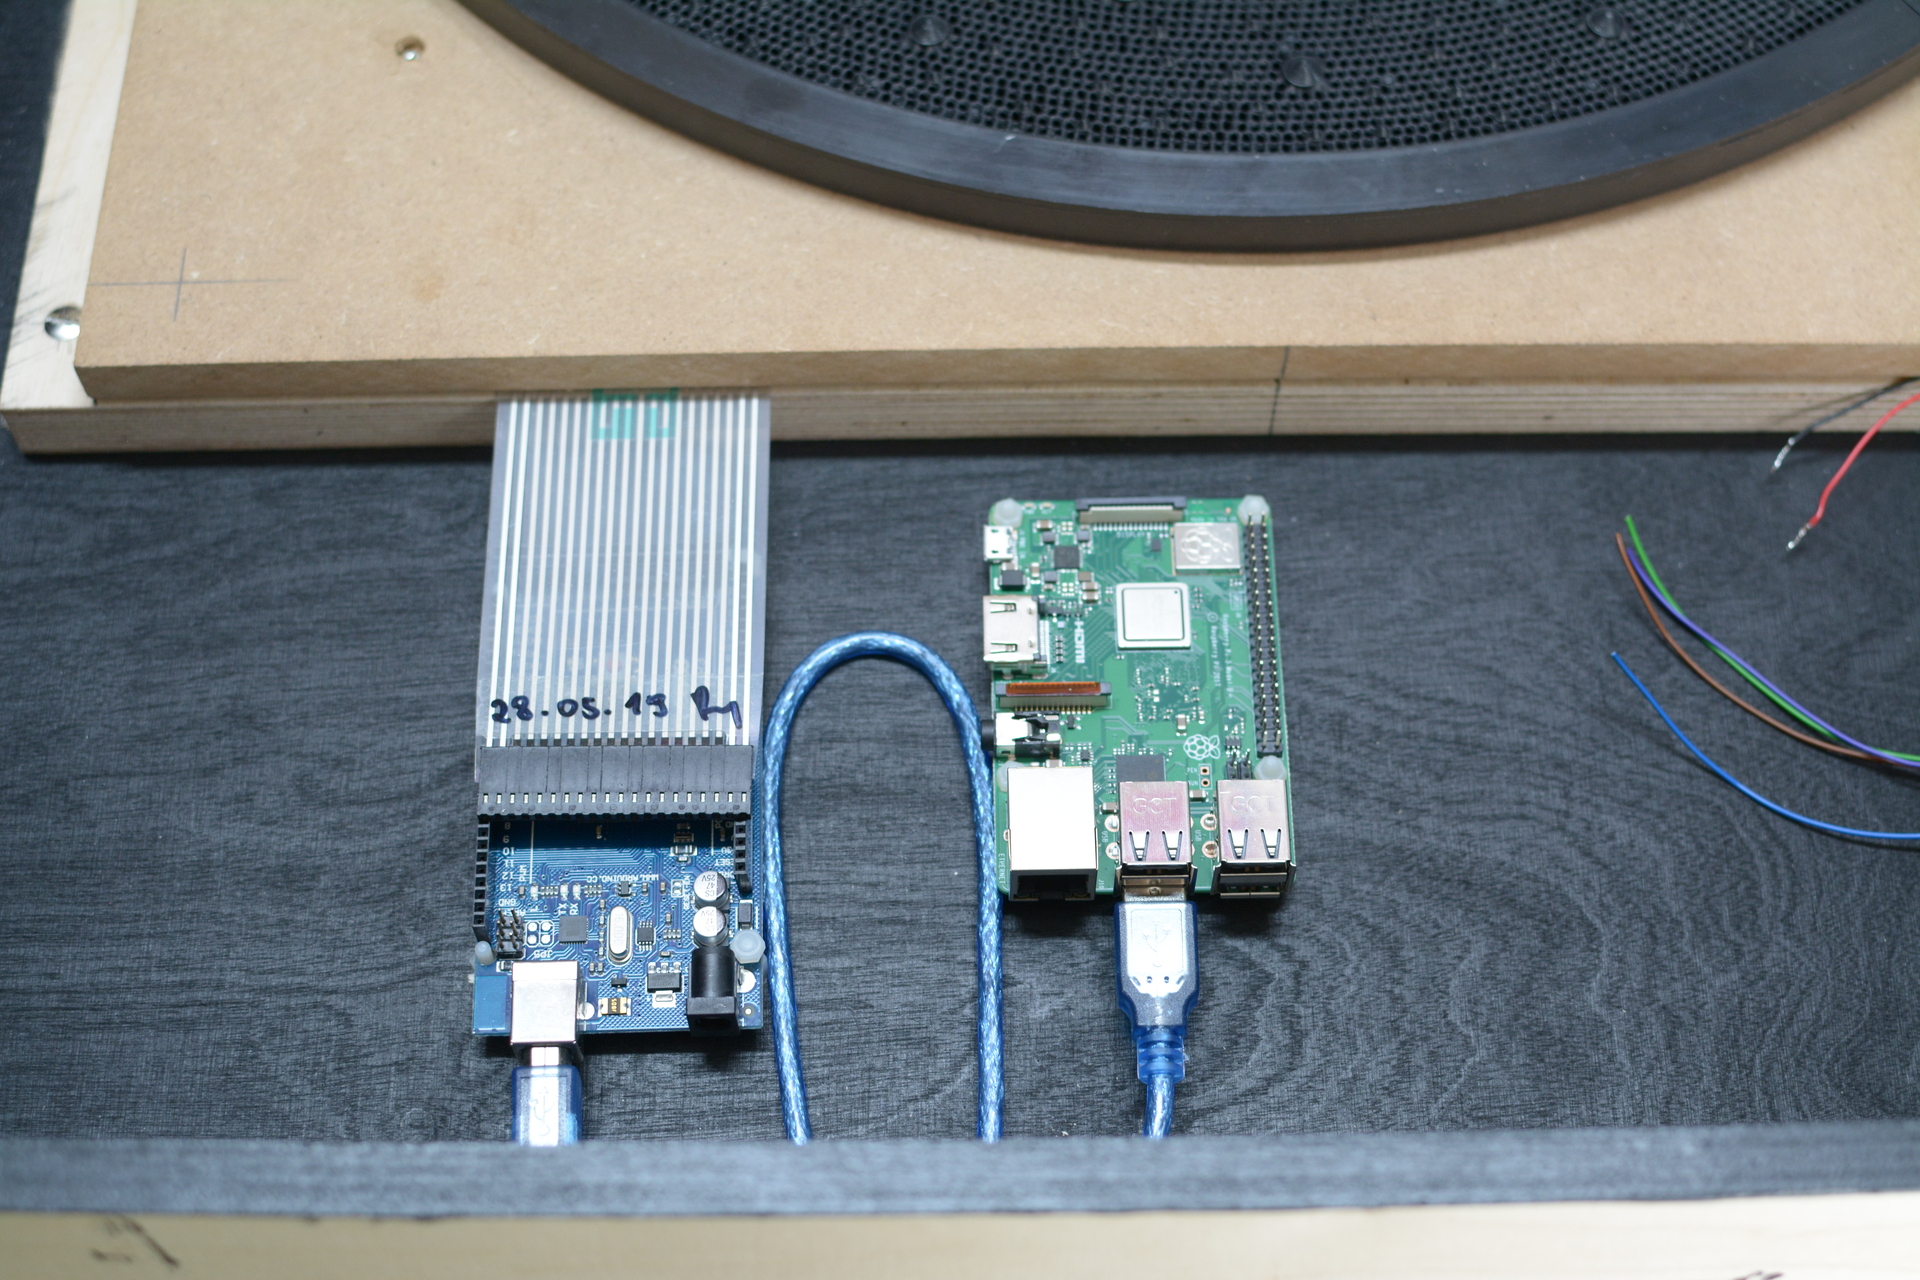
Install the electronics
I decided to use jumper cables from a prototyping set and just apply shrink tube to the ends for it to look like a plug. So later on it can just be plugged into my custom designed PCB.
Attention!
I used female connectors as I will use my PCB later on which is totally optional. If you want to directly connect your sensors to the Arduino you will need male connectors.
You need to mark the holes for the Arduino and the Raspberry Pi on the right spots, then drill a hole and fixate them. I used plastic standoffs for this job.
Finally you screw the unit back into place.
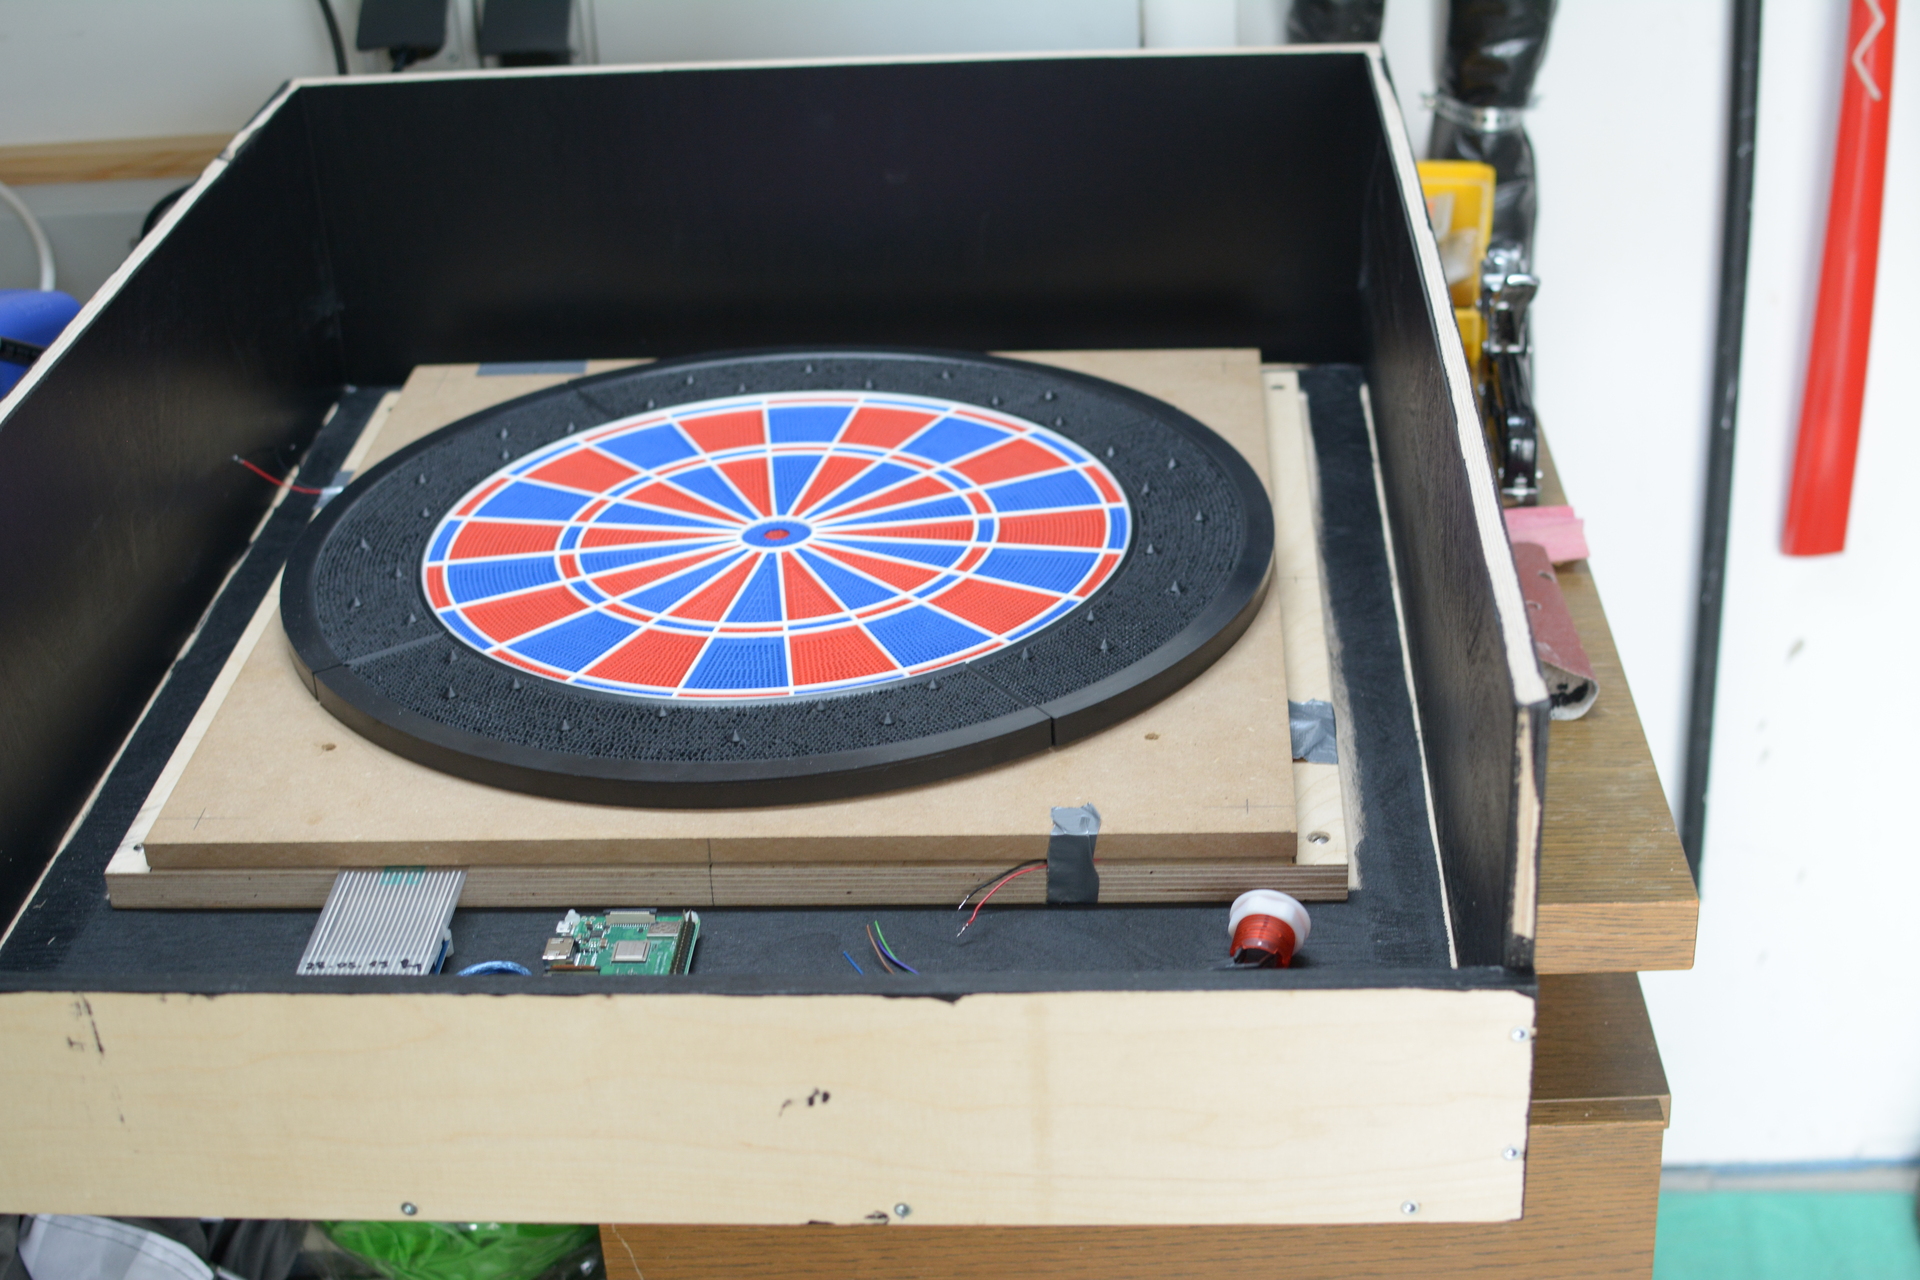
It’s now time to manage all the cables.