Step 11 - LED strip
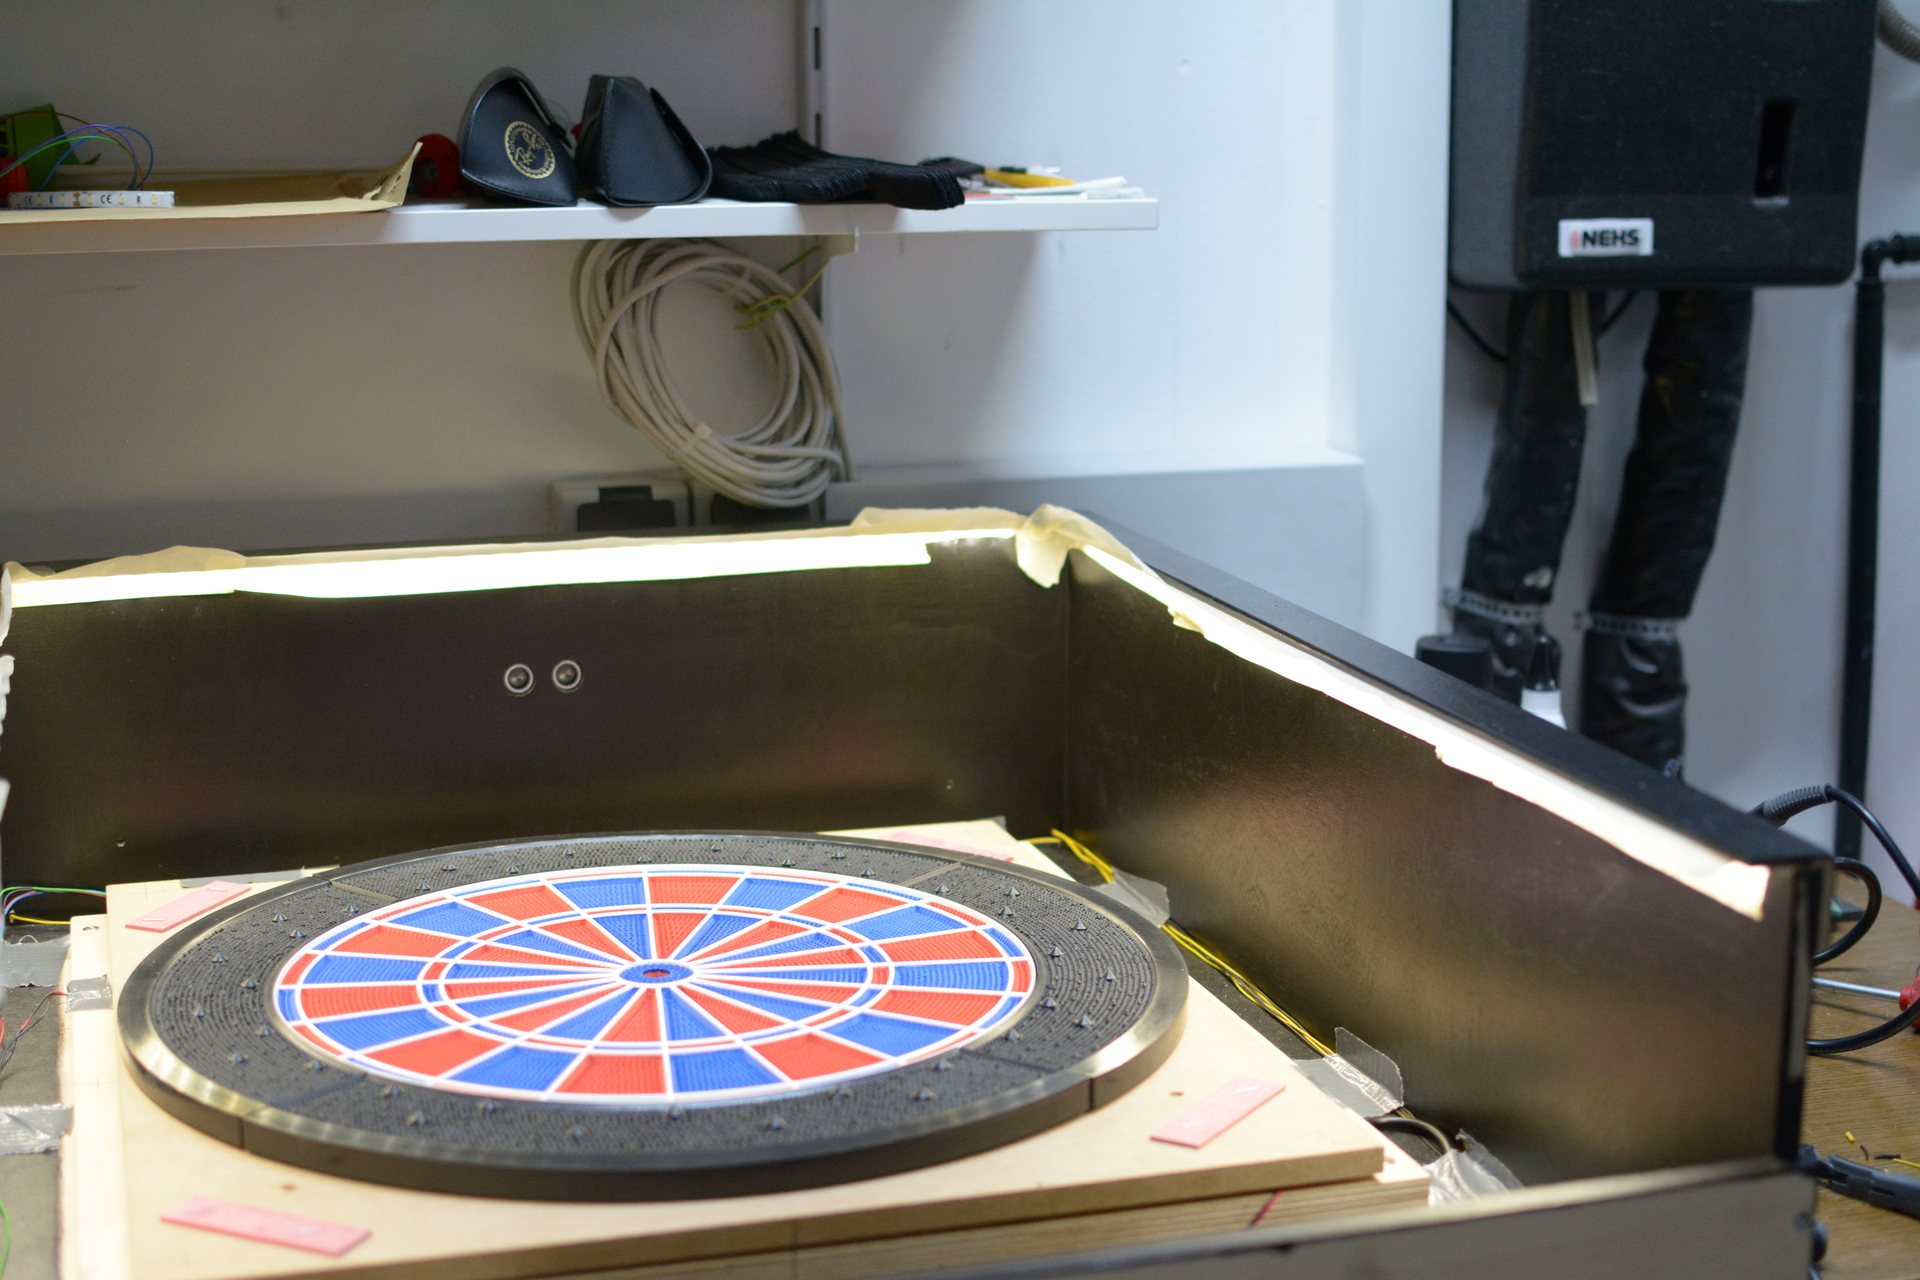
For the light cover I used angular wood, painted it and glued it to the front of the casing as you can see from the picture below.
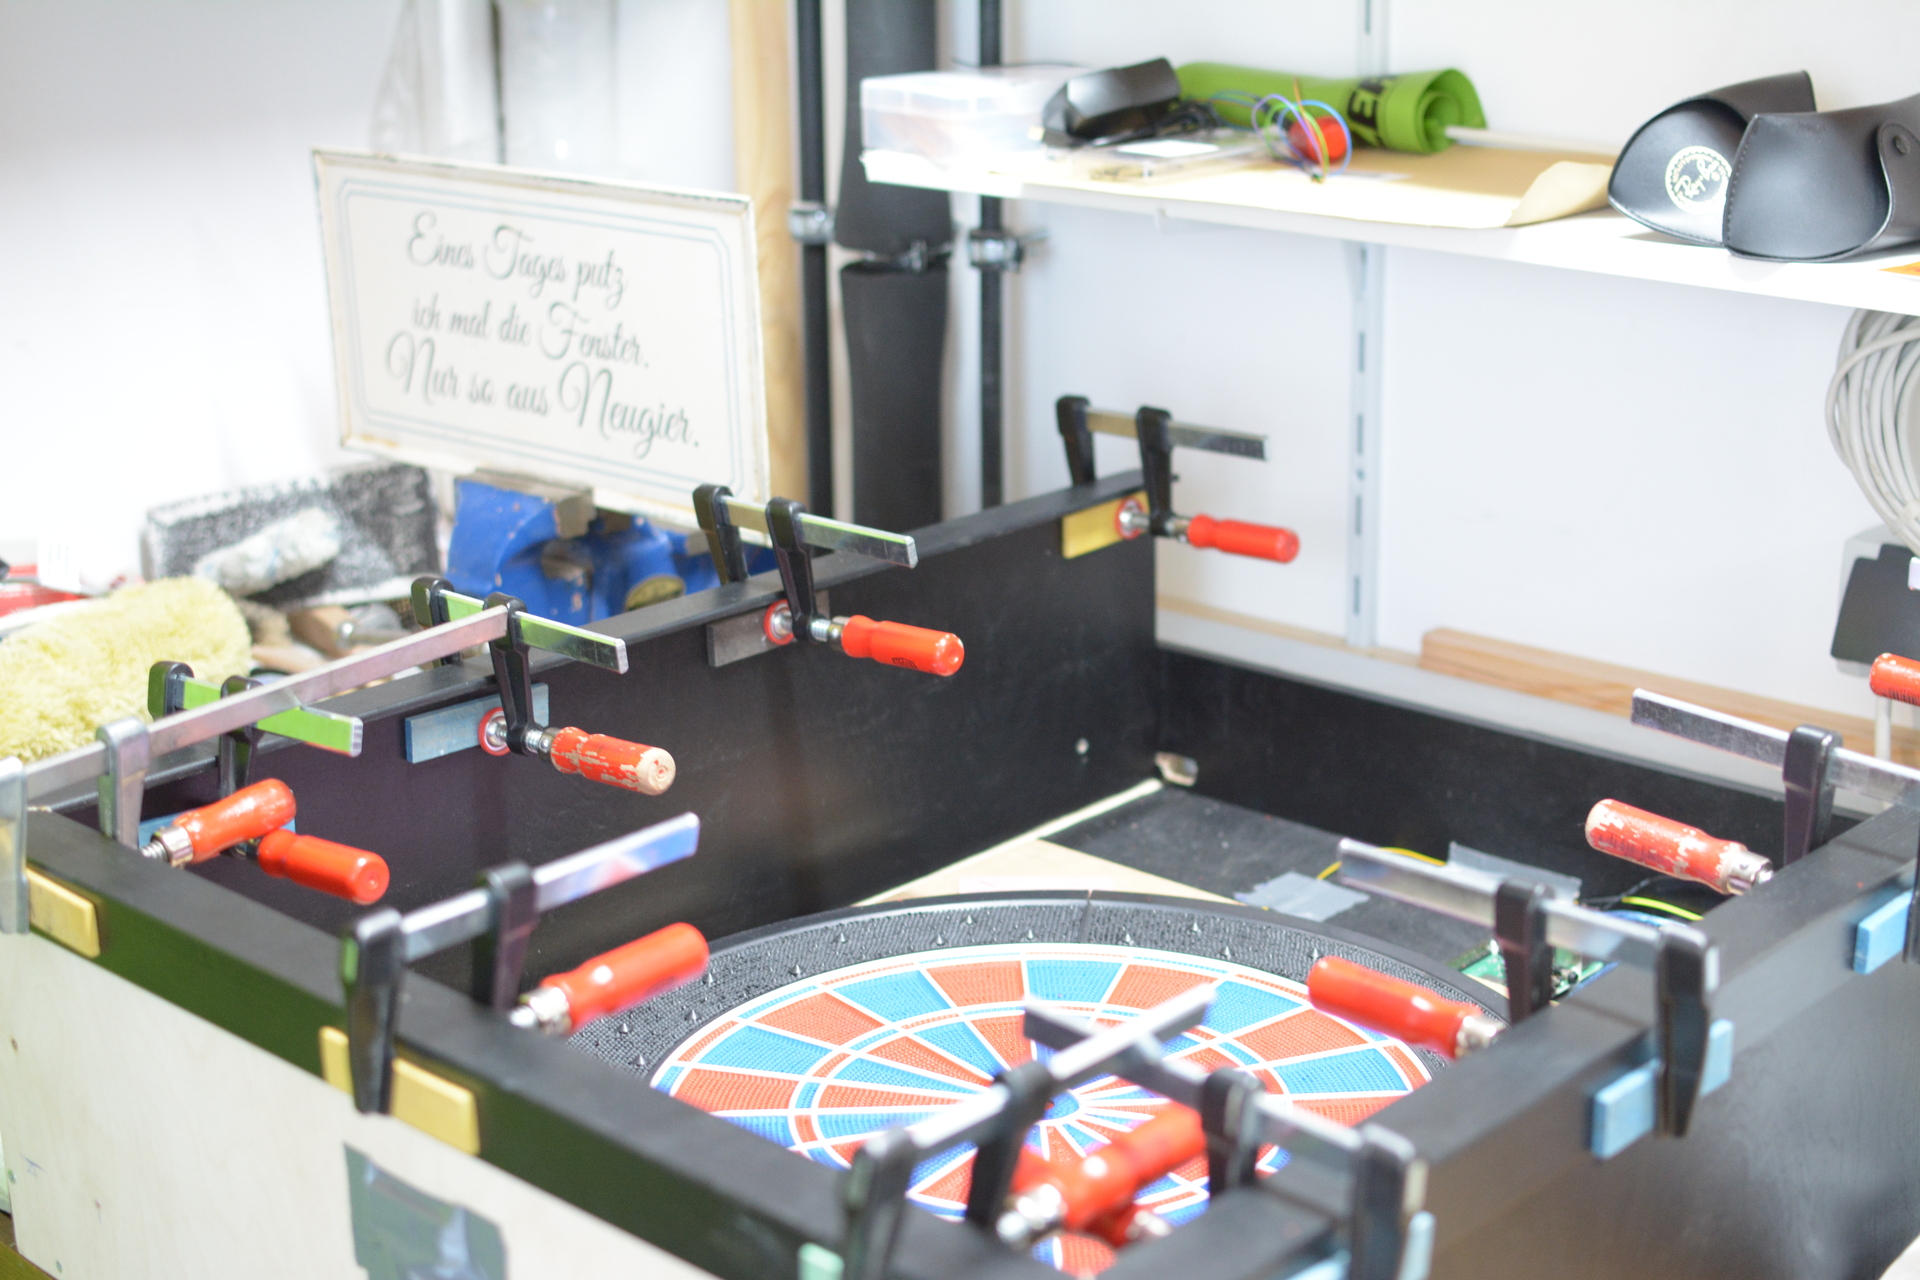
Now there is enough room to stick the LED strip onto the covers bottom side. To prepare for this I cut the strips to size and soldered the cables for the power to them already.
The strip has a sticky side itself which I applied to the bottom side of the covers. I also secured them temporarily with additional sticky tape.
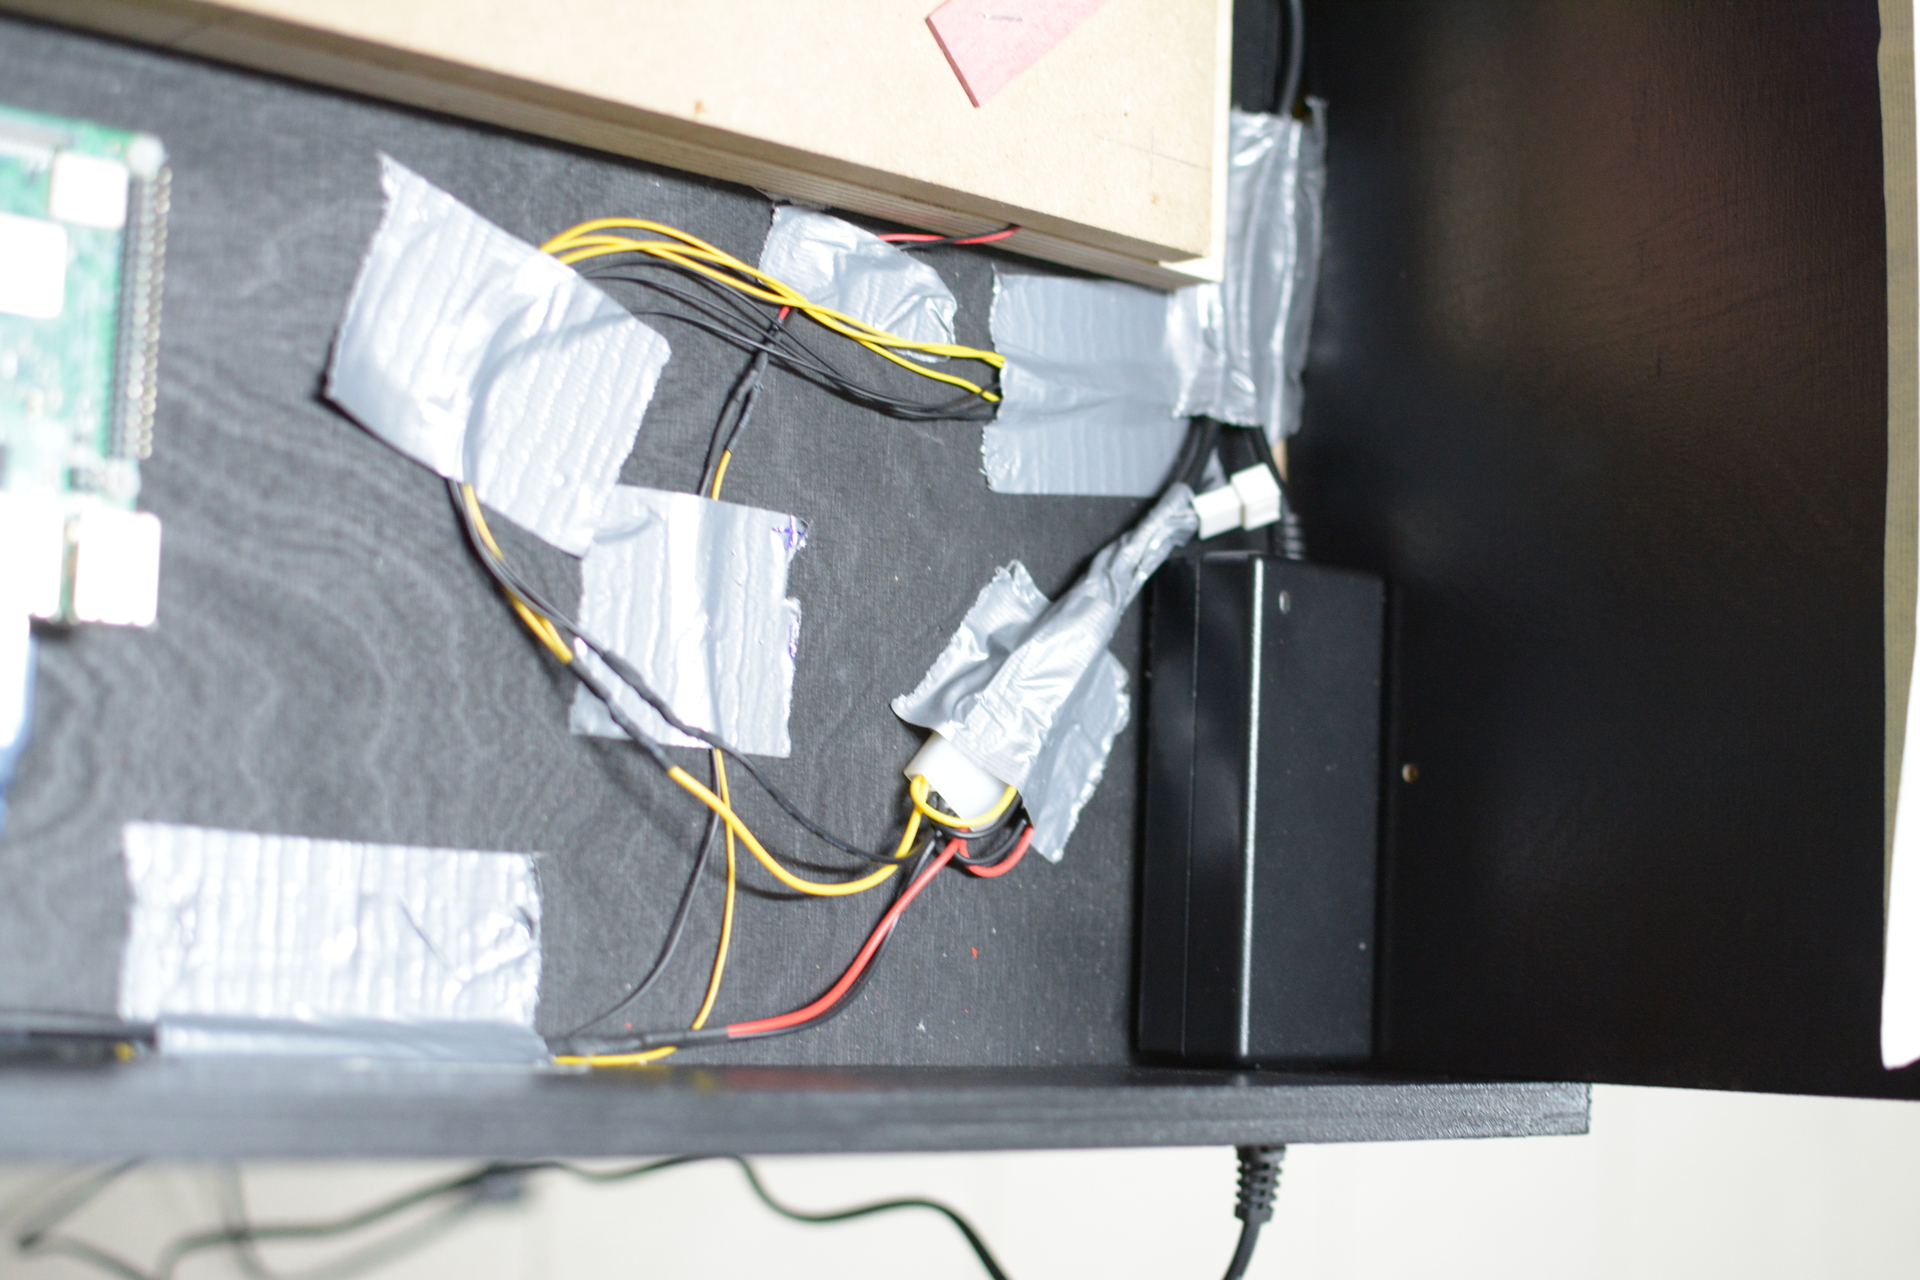
The black and yellow cables on the side of the case are the LEDs power cables. I ran them at the top outside the machine like I did with the ultrasonic sensor and drilled them back into the case at the bottom level so no one will see any cables while playing.
The power supply has one 12V, 5A side where I connected the LED strips to. The are not controlled by the Pi or the Arduino, but will just light up as the machine gets power. You might as well want to run them through one of the systems to be able to control when they light up. Then you could let them blink and such. I decided not to.
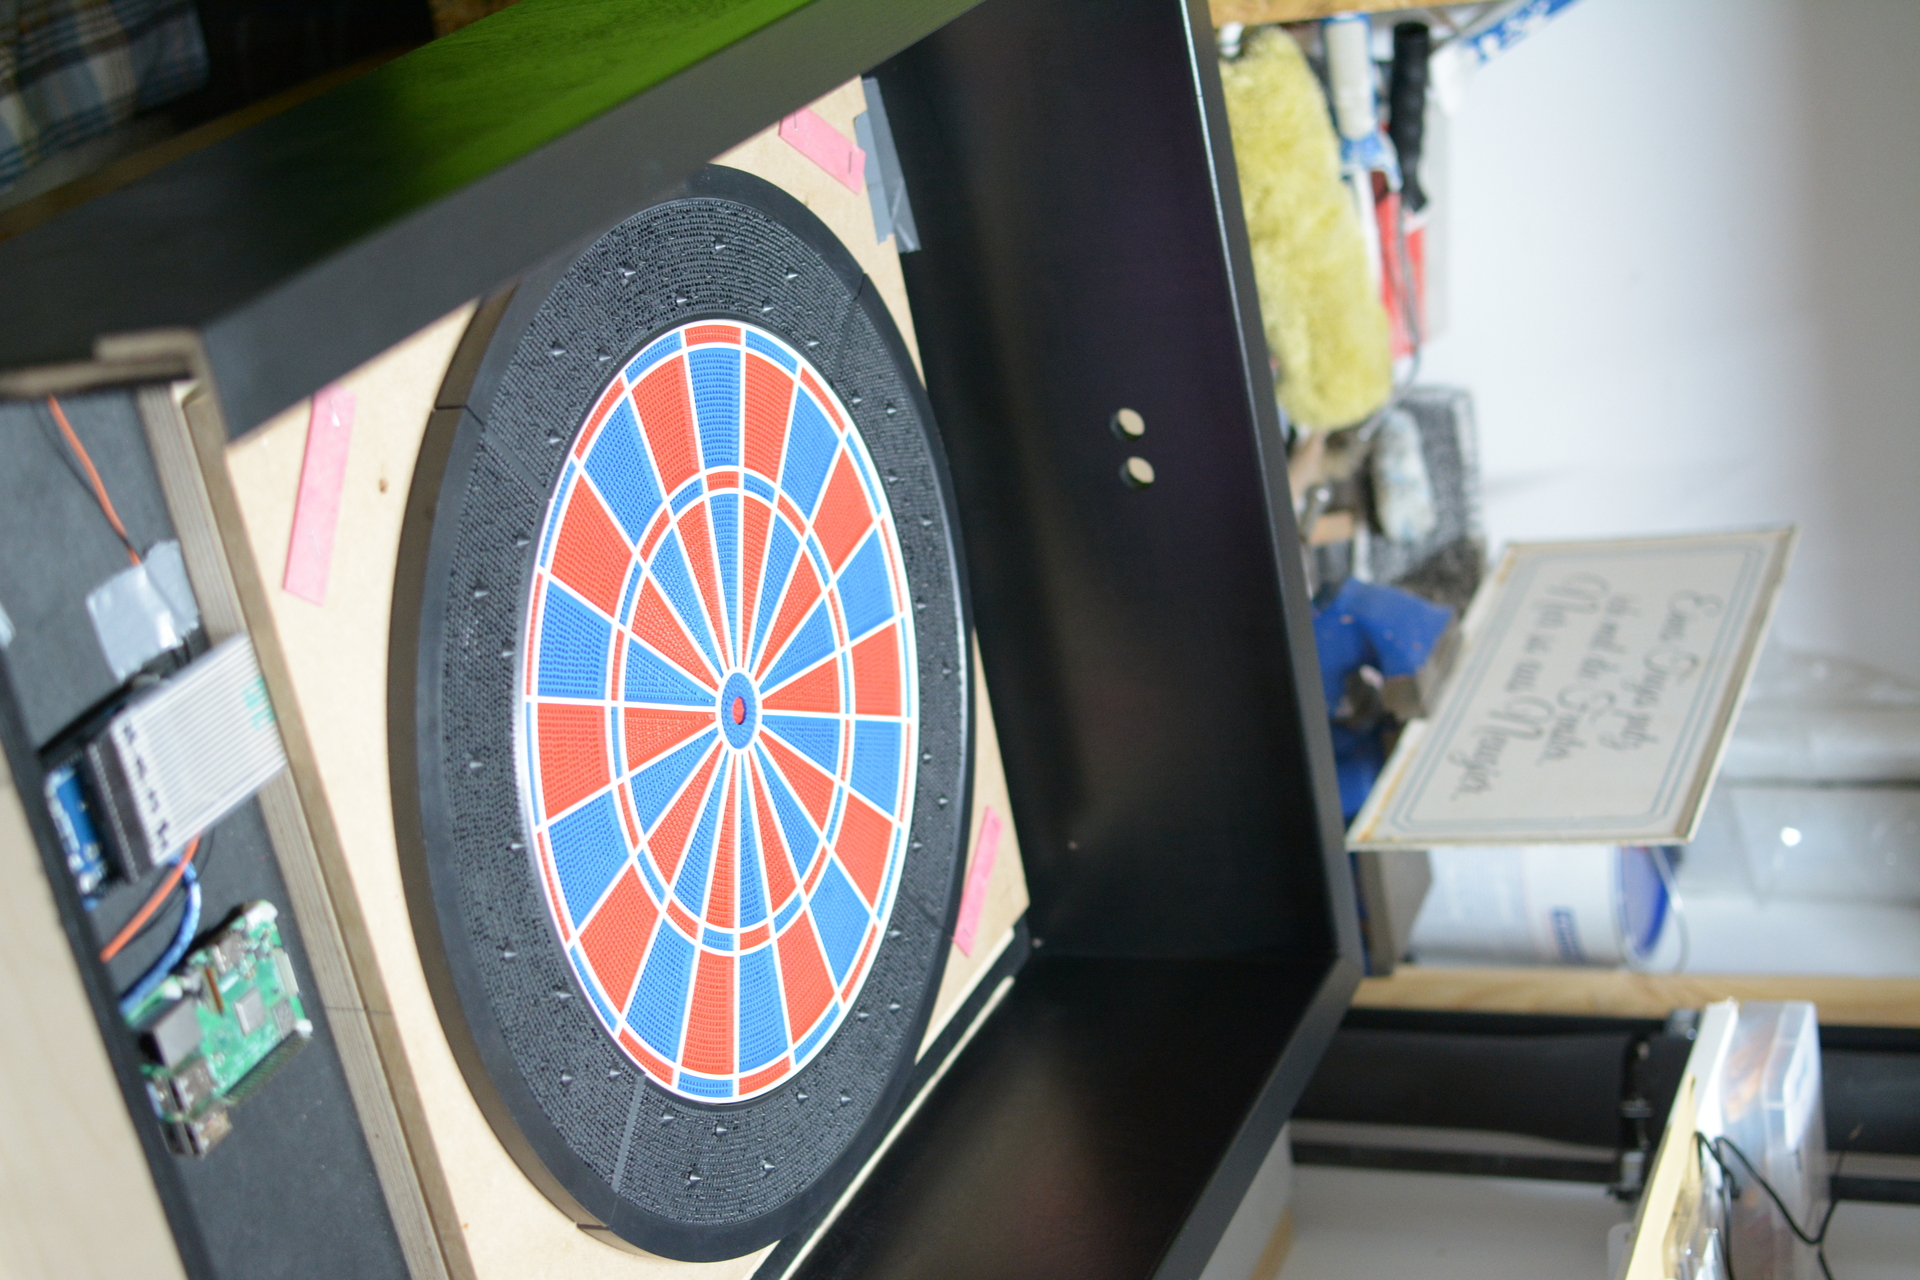
I drilled a hole into the bottom bit of the machine to be able to run a connecting cable into the the power supply, as well as a network cable.
The black and red cables are connected to the Raspberry Pi and will deliver power to it.
You need to count on the next one!