Step 13 - Finish PCB
I designed this PCB to fit all my connectors comfortably and then connect in place onto the Arduino. This way you can quickly disconnect everything and reconnect it back again.
Info
This step is totally optional, as you could just connect the cables directly to the Arduino.
Also note that the pictures will show the old version and there is an updated version which will read the correct GitHub Repository.

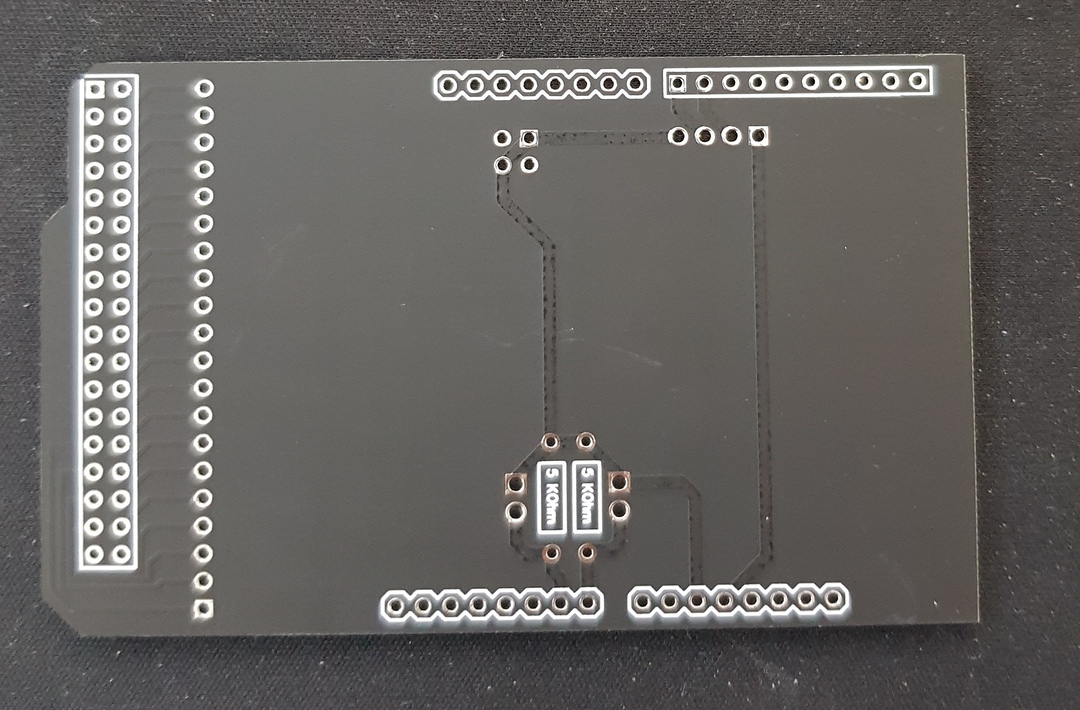
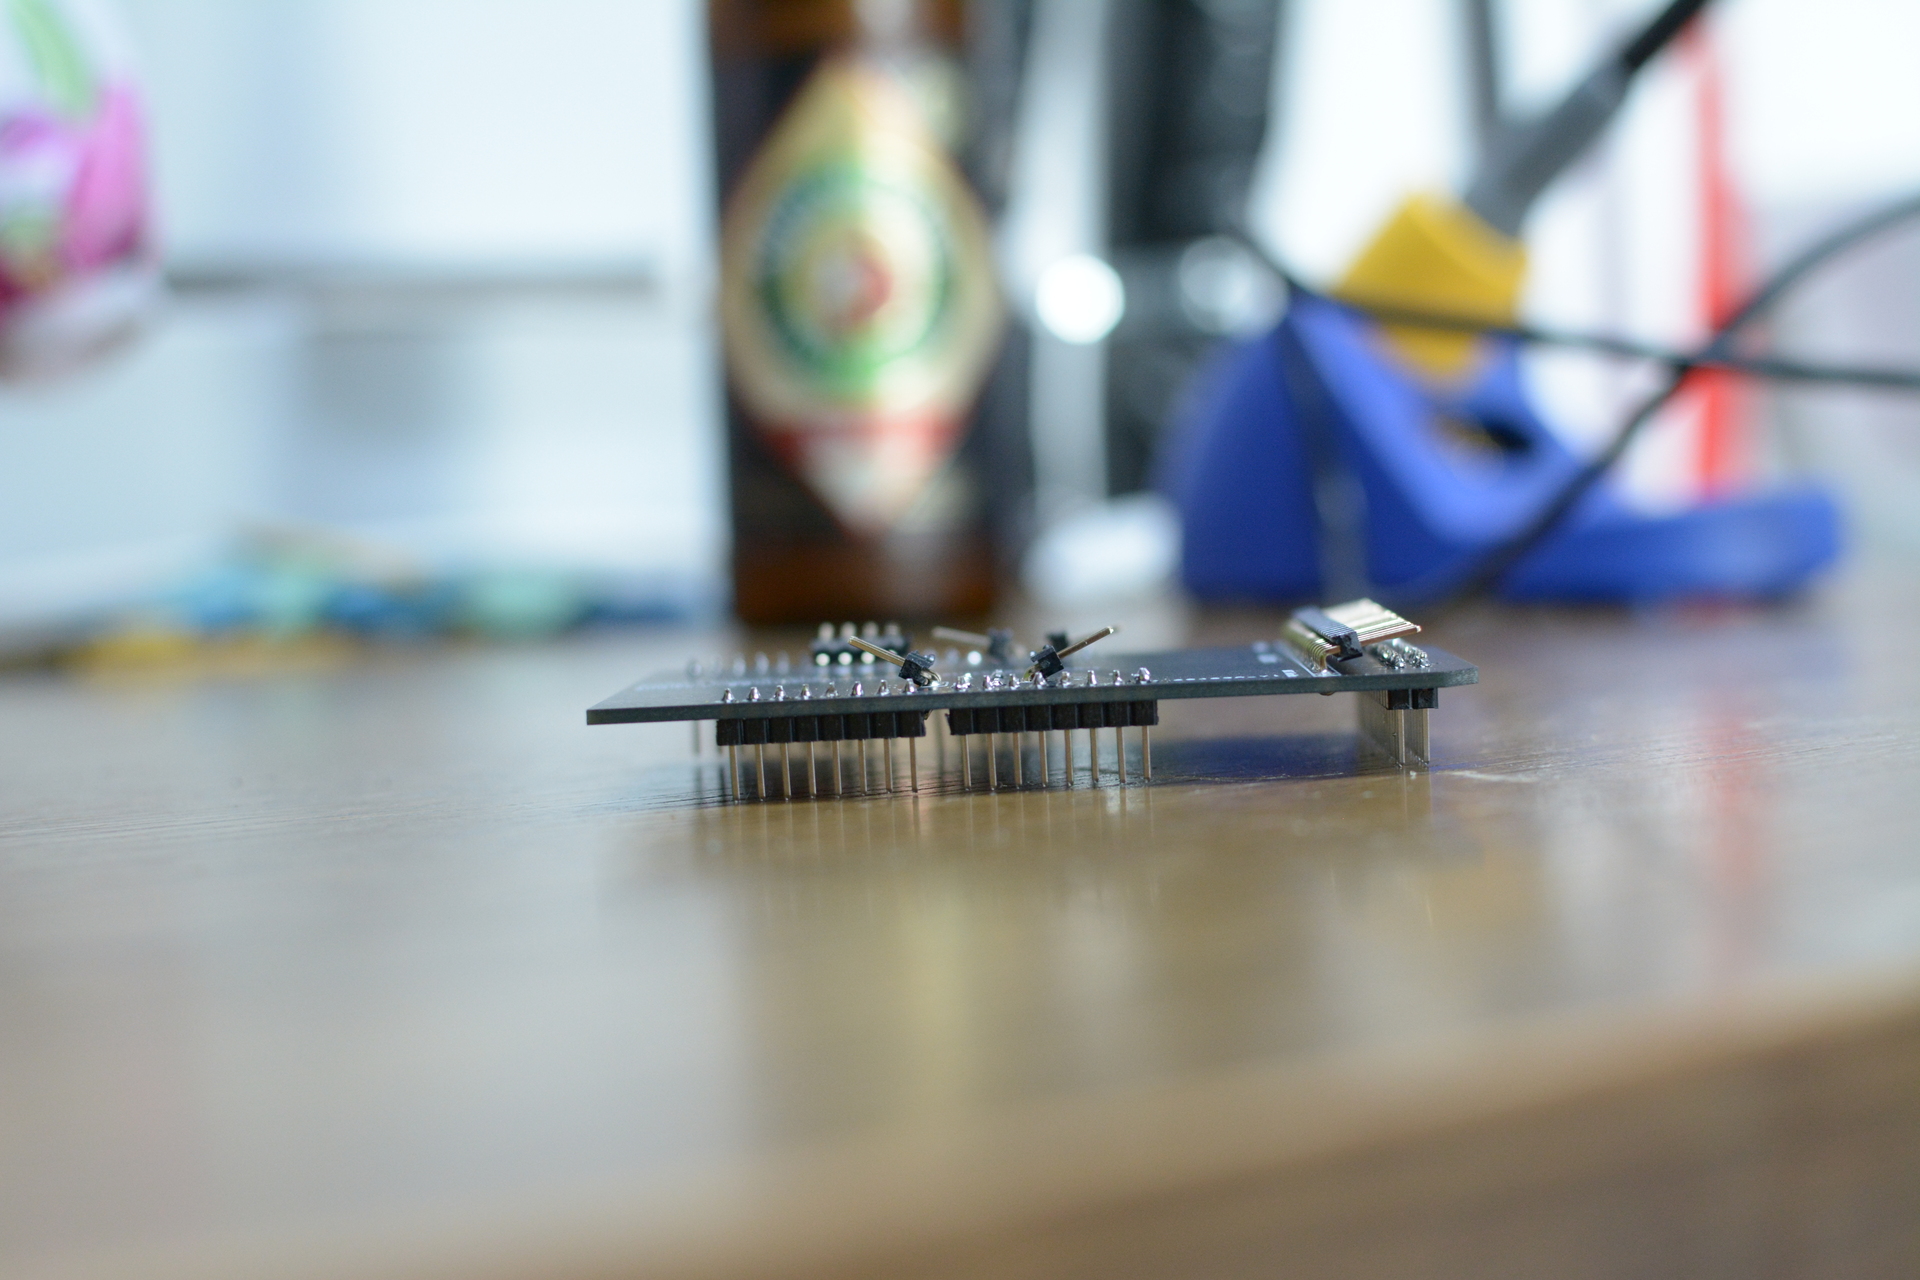
Now all you need to do is solder male sockets facing downwards onto the back side and solder angeled male sockets to the top side as pictured below.

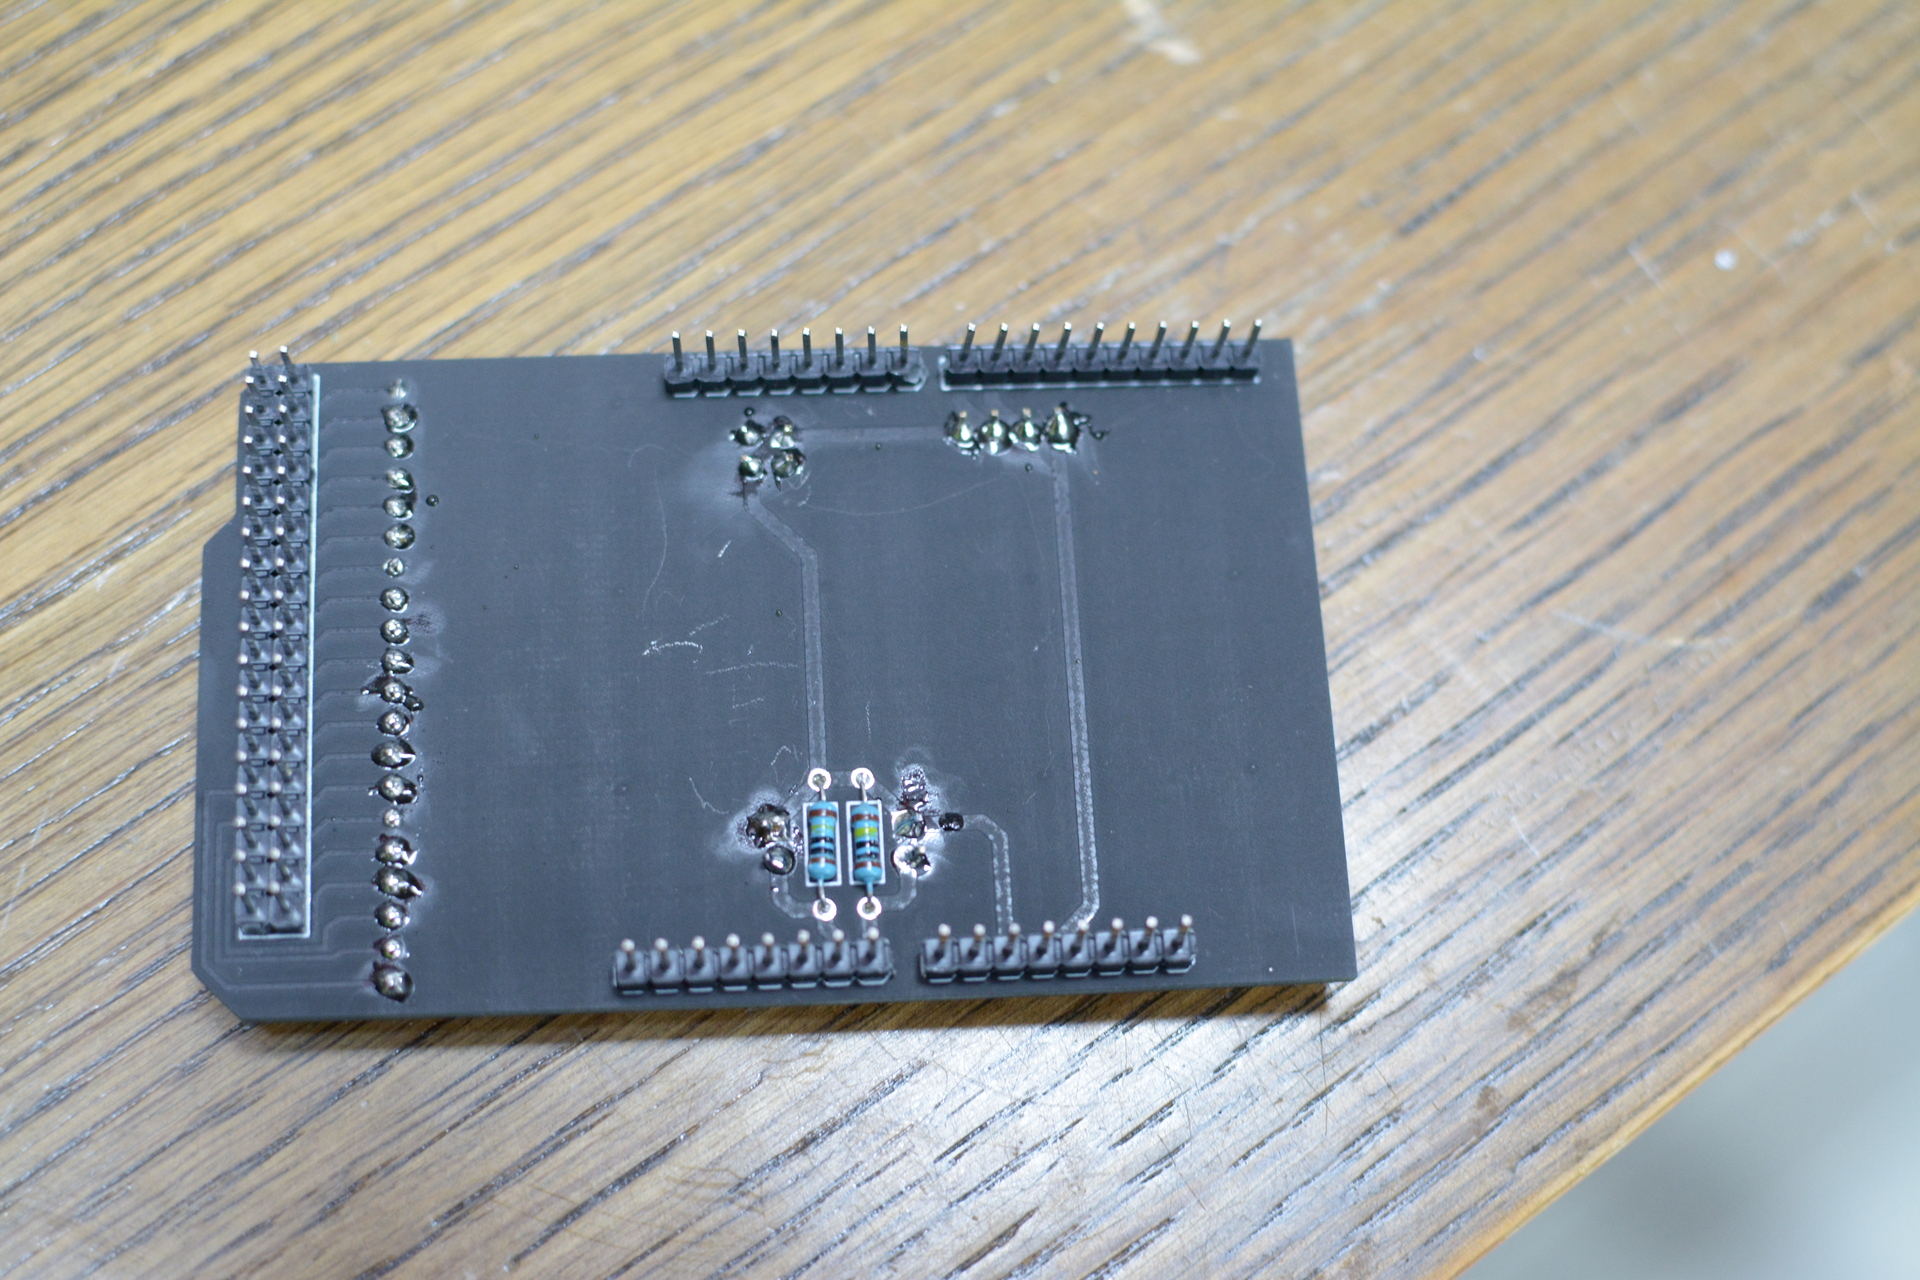
I applied the angled mail sockets in a really steep angle so the connects fit better later on.
Now you can connect everything in place, which will look like so.
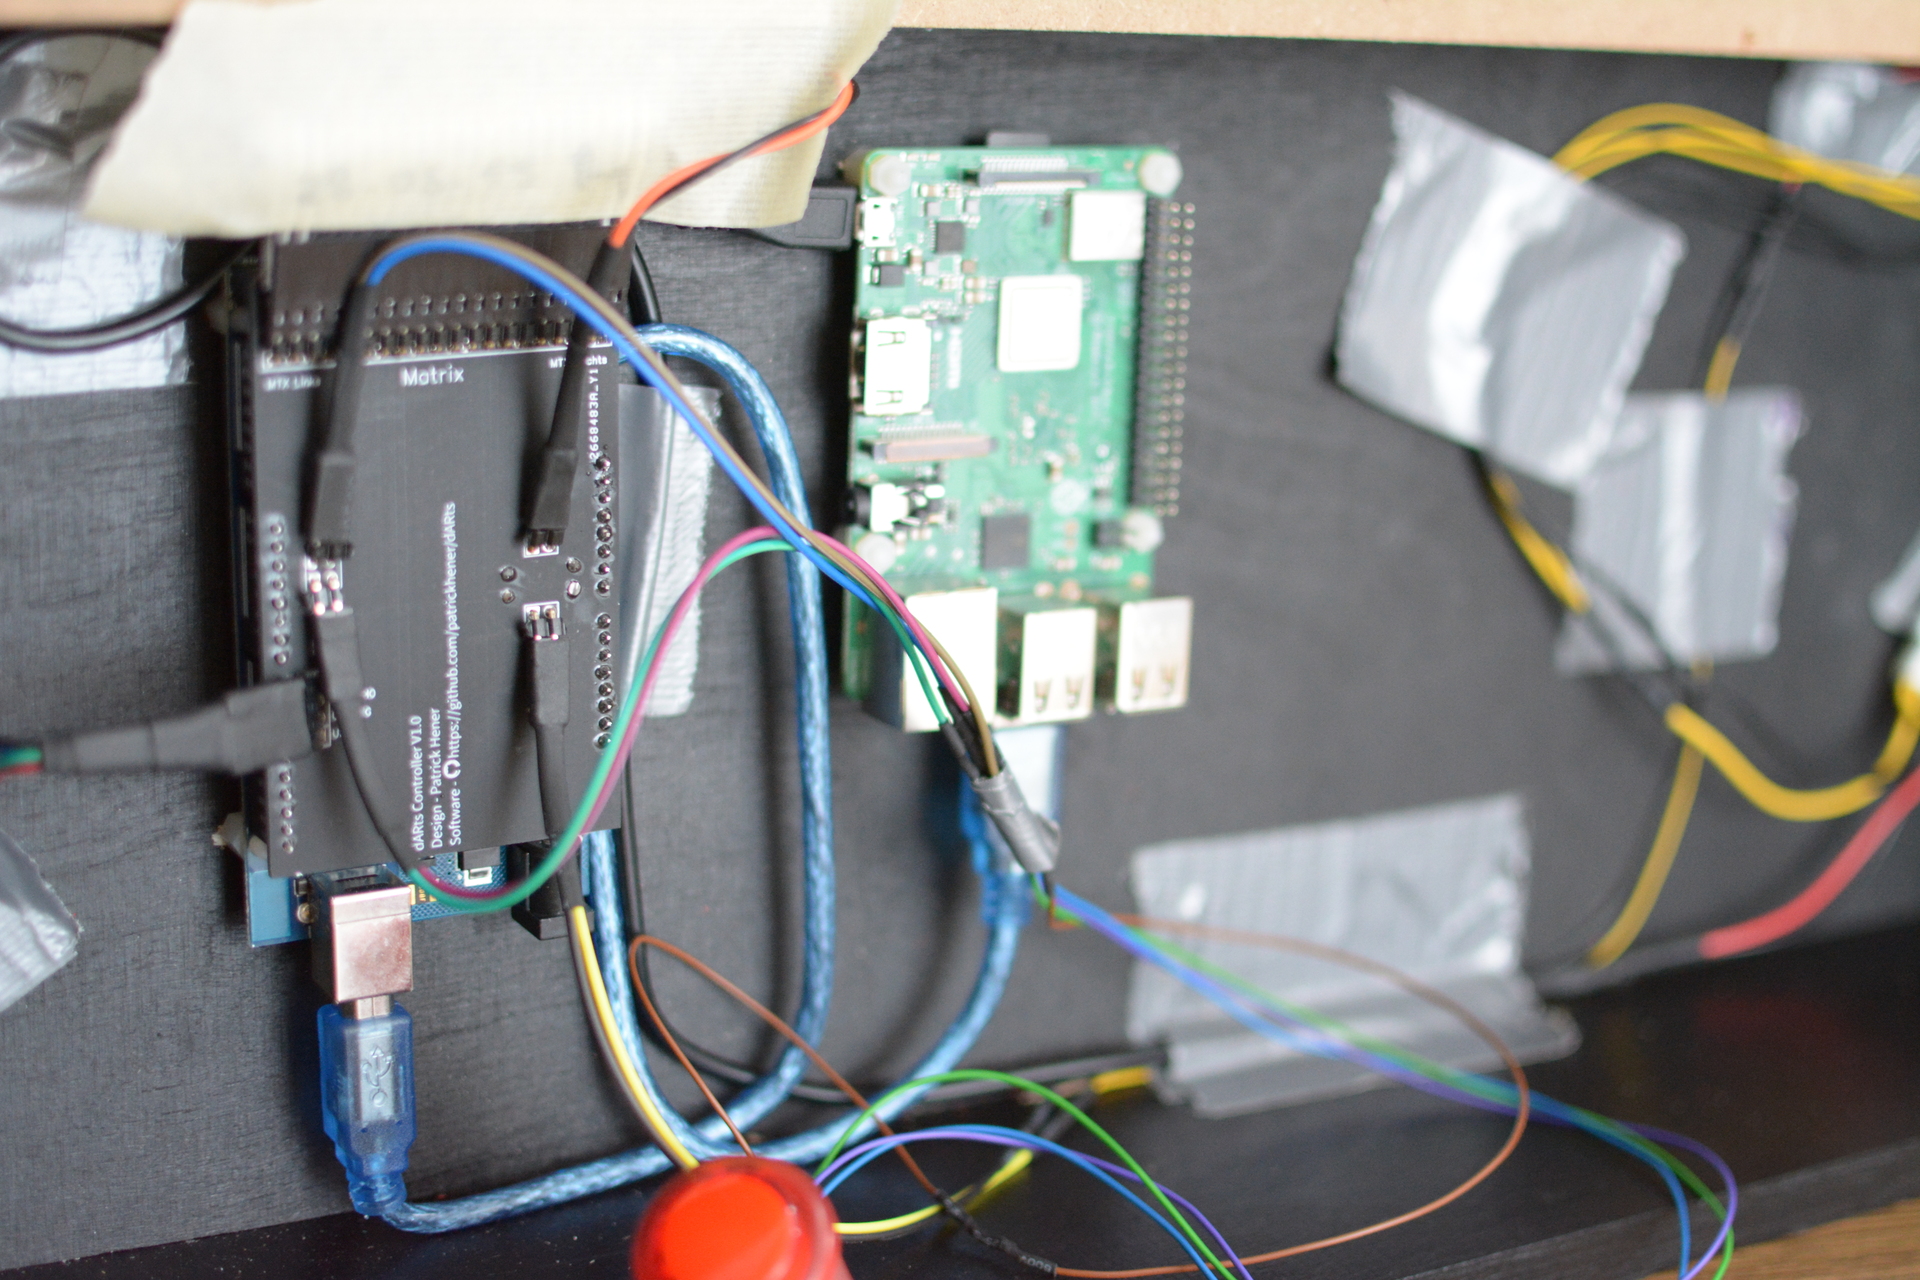
You are done now. This was the easy part (if you are more the woodworking guy) or the hard part (if you are more the software guy). Either way you can now continue with setting up OS, Software and such.